
Facebook changes so much, often leaving people completely clueless as to how to navigate. If you are page owner/administrator, there is a learning curve every few months when Facebook adds this here or tweaks this there. I've shared about How to Use the New Timeline on Facebook Fanpages, my thoughts on Facebook Promoted Posts as well as how to Increase Interaction On Facebook Fanpages.
Today's lesson is a simple task, but one that can spruce things up on your page: creating and customizing photo albums on your Facebook fan page. Having albums increases chances of engagement with your fans/readers, and having something like a custom photo album cover makes all your albums look pretty and organized.
Now, you might be shaking your head all, "Steph. It's a simple photo album. How difficult can it be?"
Well, you may be right. It might be just that easy. In which case, totally stop reading this post. I promise we'll still be friends. But this task, which can really add some flare to your page, might confuse some. And something as simple as creating a custom cover can be a bit baffling because Facebook doesn't exactly make Drag n' Drop friendly. Tsk, tsk, Facebook!
So here it is in a few simple steps, using my Confessions of a Stay-at-Home Mom page:
How To Create a New Album
1) Go to your the Facebook Page you own or are on Administrator for: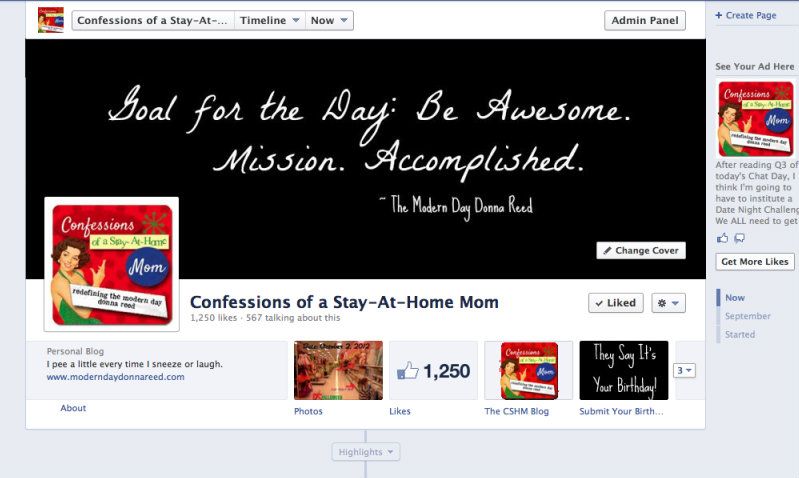
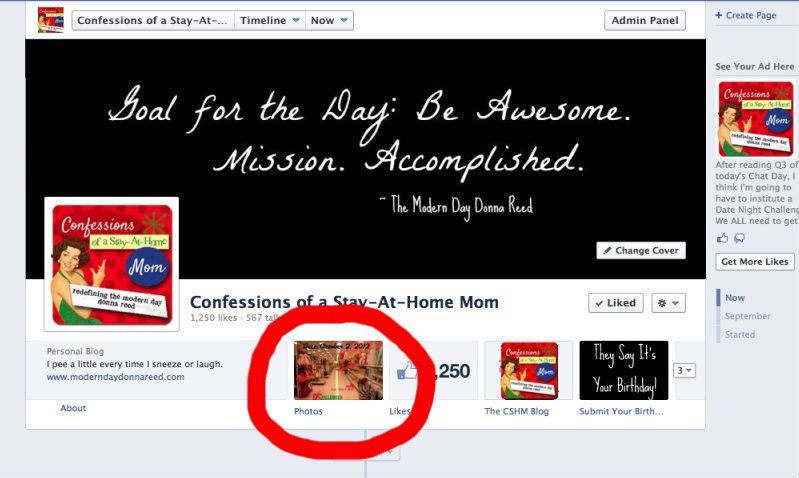
2) Click on the "Photos" tab under your cover photo.
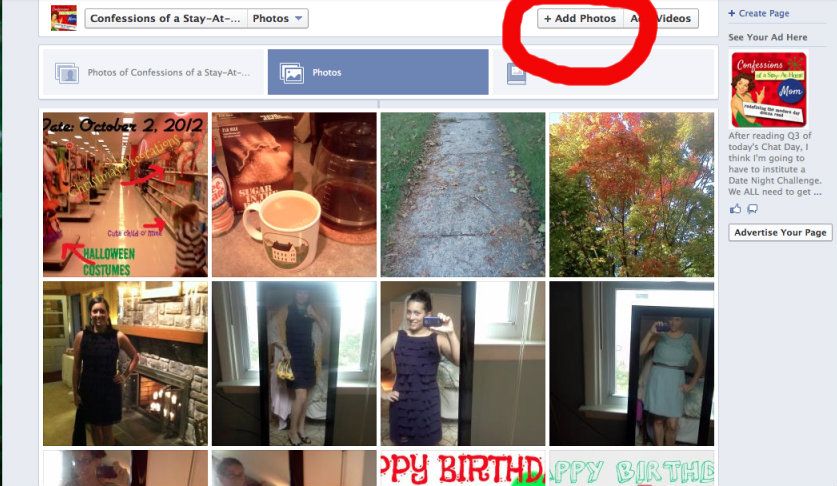
3) Click on the button in the upper righthand corner that says "Add Photos." The new photos will automatically start a new album.
4) Upload photos from your computer. You will be given the option to add descriptions or tag one as the album cover photo (see next section). When youare finished loading pictures, click the option at the bottom to "Post."
How To Create a Custom Album Cover
1) Create a photo album as shared above.
2) I suggest creating a custom album cover, on a site like Picmonkey or Photobucket. Add a title to the image, as seen in the example for my "My Backyard" photo album below (this was a challenge my readers took part in this past Spring where they shared photos of what they loved about their backyards):
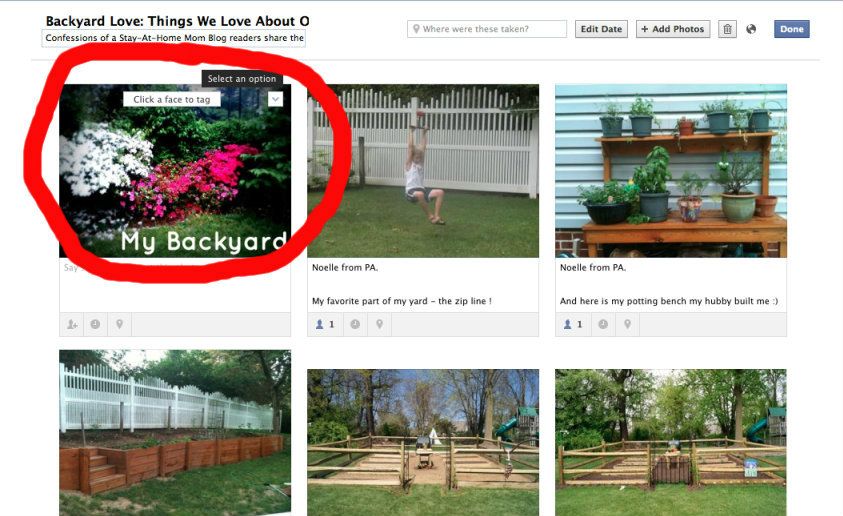
4) When you click the tab, a dropbox will form, and one of the options is to "Make Album Cover."
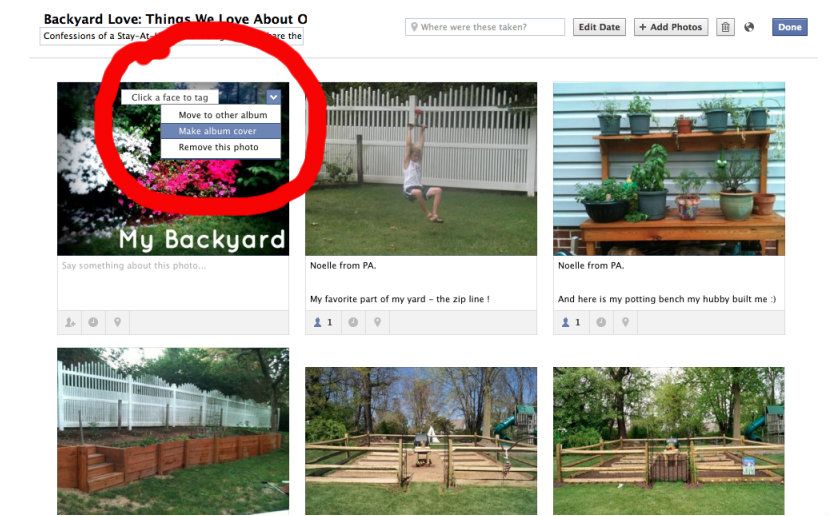
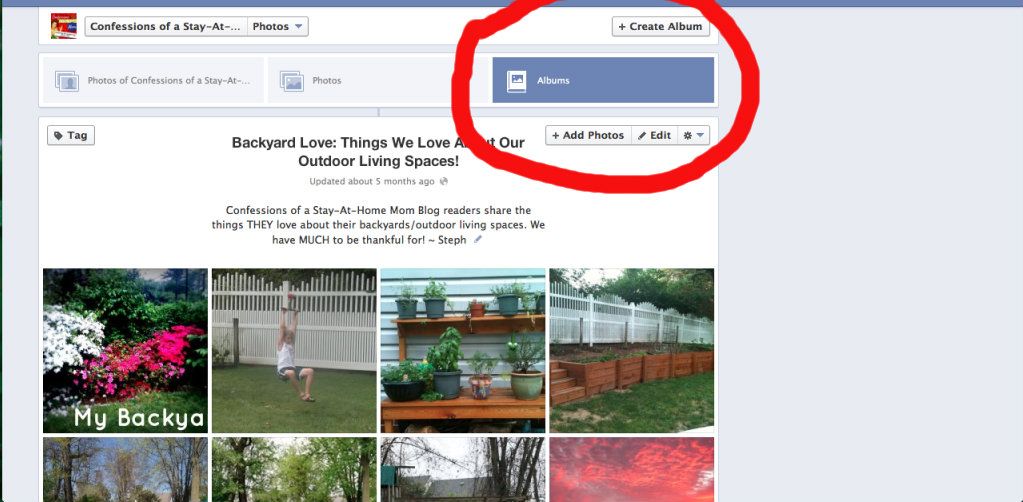
5) Selecting this will make this photo always show as the first picture of the album, as well as represent the album under the "Albums" tab on your page. Here is a view of the My Backyard album on my Album's page for reference:

How to Move Photos From One Album to Another
1) Go to your Photos and click the "Albums" tab on the far right. This will show you all of the albums your page has created (including cover photos, wall photos and videos, which Facebook automatically creates albums for you)
2) Click the album that has the pictures you want to move.
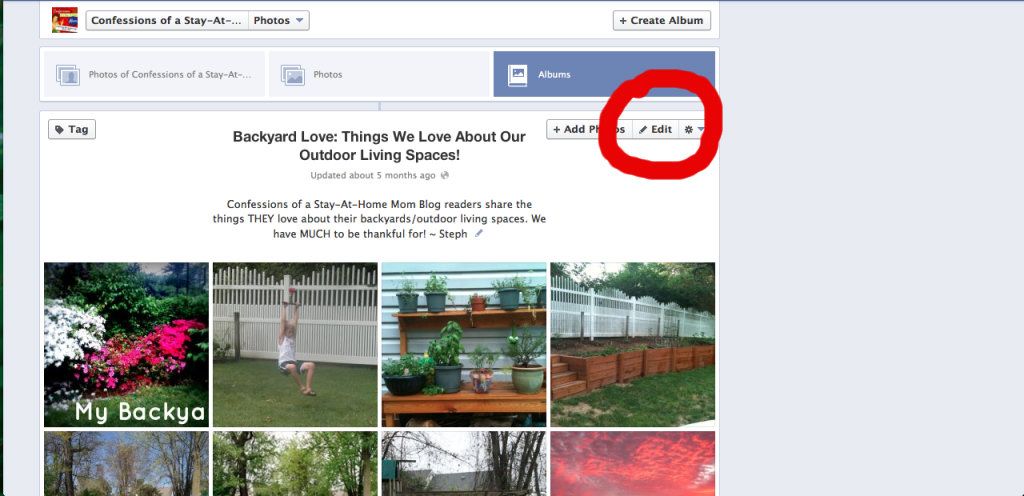
3) Choose the Edit option on the upper righthand corner. This will put your album in edit mode, allowing you to change descriptions as well as photo options.
4) Hover over the photo you want to move. A downward arrow tab will show up in the upper righthand corner. It will say "Select an Option." Click to see your options.

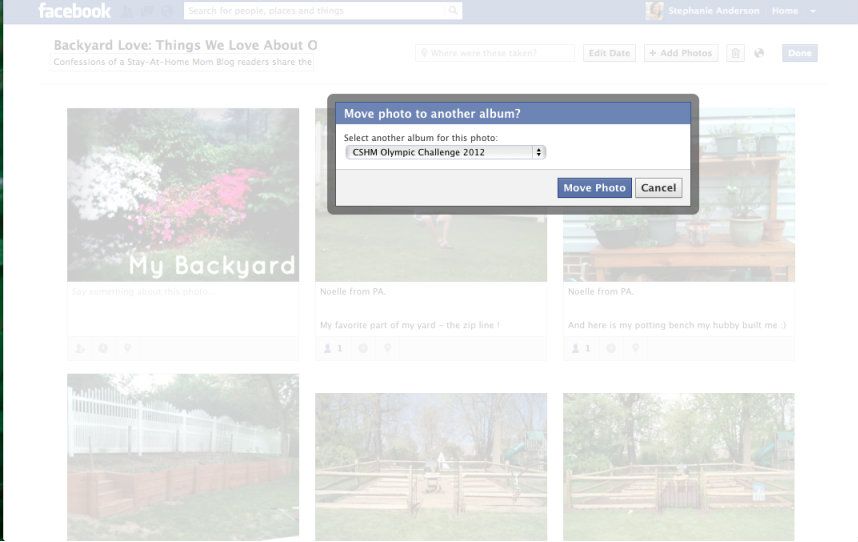
6) Scroll down to the album you want to move the photo too. Then click the blue button that says, "Move Photo."
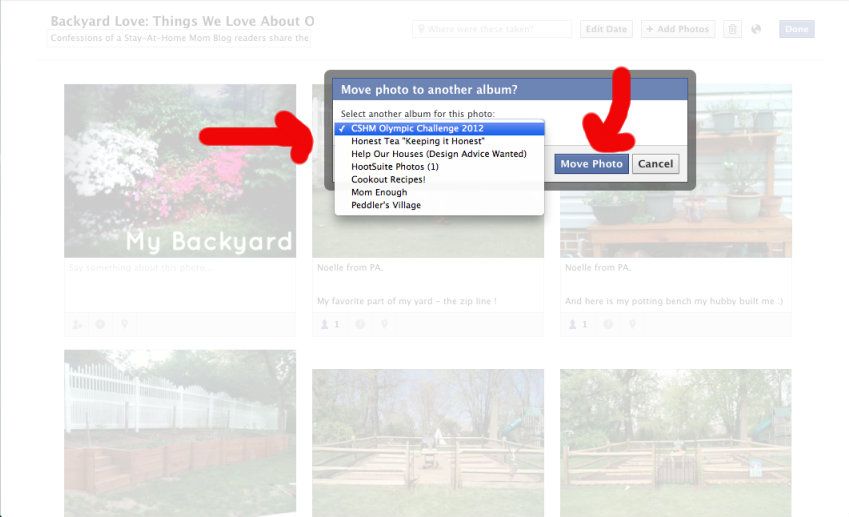
7) That's it!
These are just a few tips on creating fun and engaging photo albums on your Facebook page. I hope it helps.
I'd love to hear your feedback as well as other tips and tricks that I have not mentioned - I'm always looking to learn more! Please leave a comment :)
