
We love decorating for the season and holiday, don't we? Orange, red and yellow accents in the Autumn, with pumpkins, black cats, or turkeys if you are getting into November. Green wreaths with holly, red and silver and gold for Christmas.
Well, now you can decorate your pictures for Halloween.
And I kind of love it.
Now, Halloween is not my favorite holiday. I hate being skirrrred and it's all very gruesome. I do love candy, though. But when I came across the new Halloween feature on PicMonkey, I had so much fun doctoring photos, I couldn't stop!
I "Halloweenified" my personal Facebook Profile photo as well as the CSHM Facebook Page photo using PicMonkey, and several people asked how I did it (and if I could do it for them), so I thought I'd do a quick tutorial on how to go about doing it!
Well, here ya go!

1) Go to PicMonkey.com
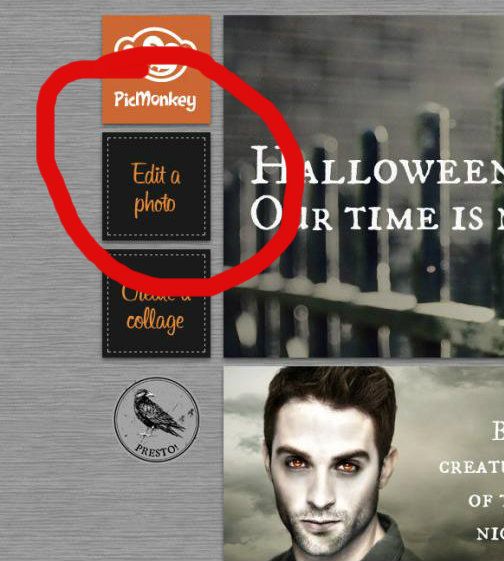
2) Choose "Edit Photo"
3) Upload the photo you wish to Halloweenify (yes, I made this word up).
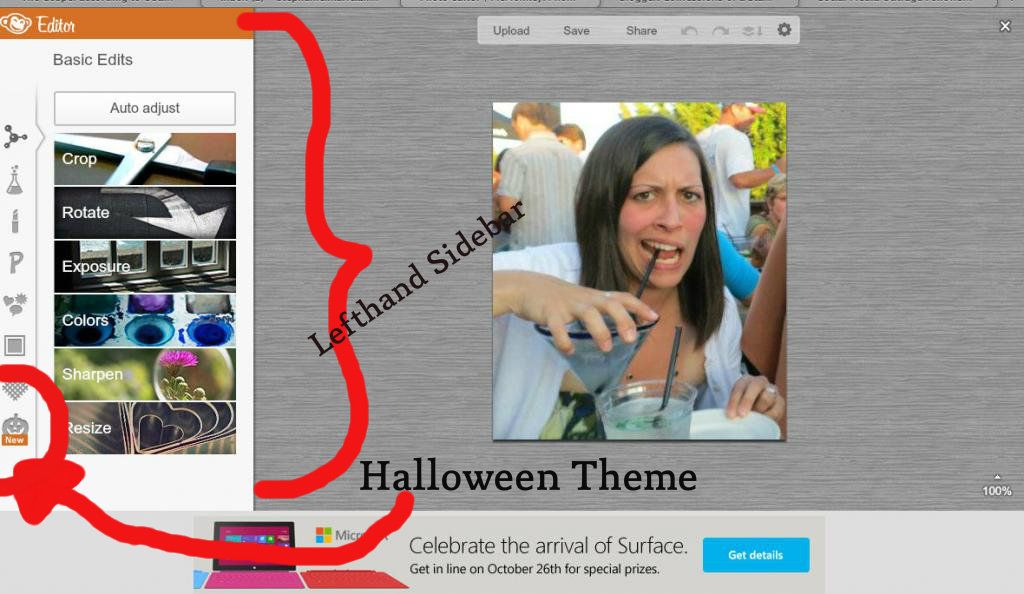
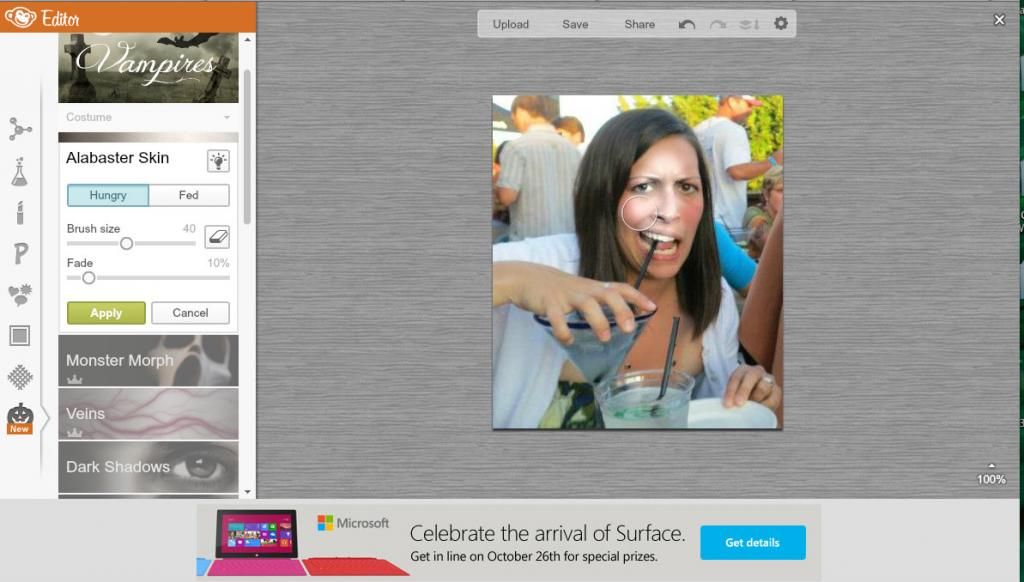
4) Look at the lefthand sidebar. There are lots of awesome everyday editing options. But if you look at the bottom, you will see a little Jack-o-Lantern. Choose this for Halloween themes.

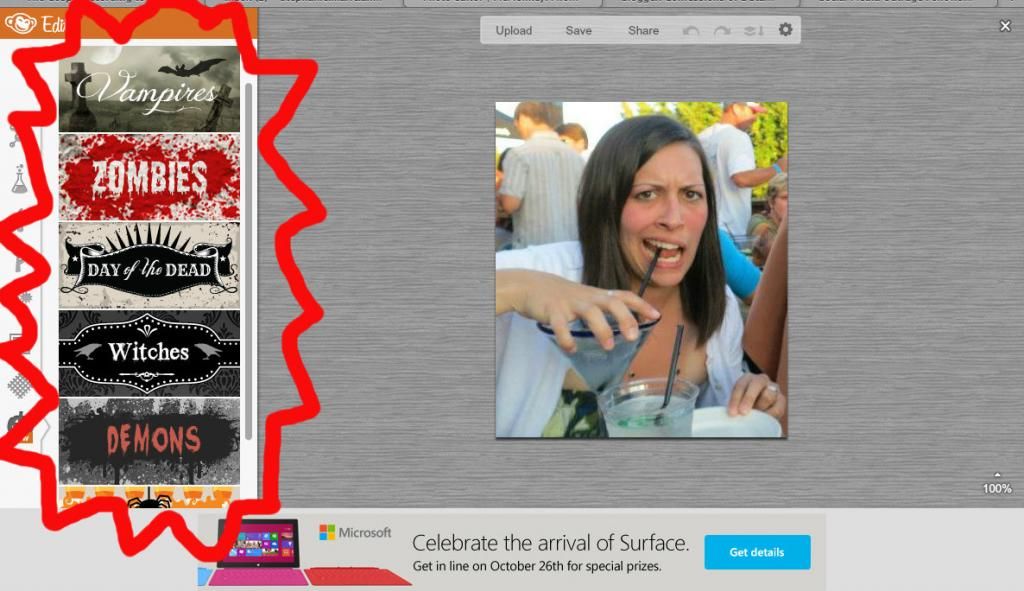
5) There is a wide array of Halloween themes categories to choose from: Vampires, Zombies, Witches, Day of the Dead, Demons, etc. There are also stickers, overlays and fonts you can use to spice things up.
6) I chose to go with Vampire (hoping that it will win over Edward Cullan, perhaps). I gave myself Alabaster Skin, Dark Shadows under my eyes, Vampire Eye Color and I put blood in my margarita glass. I've also played around with Zombie and Witch, which are equally enjoyable.
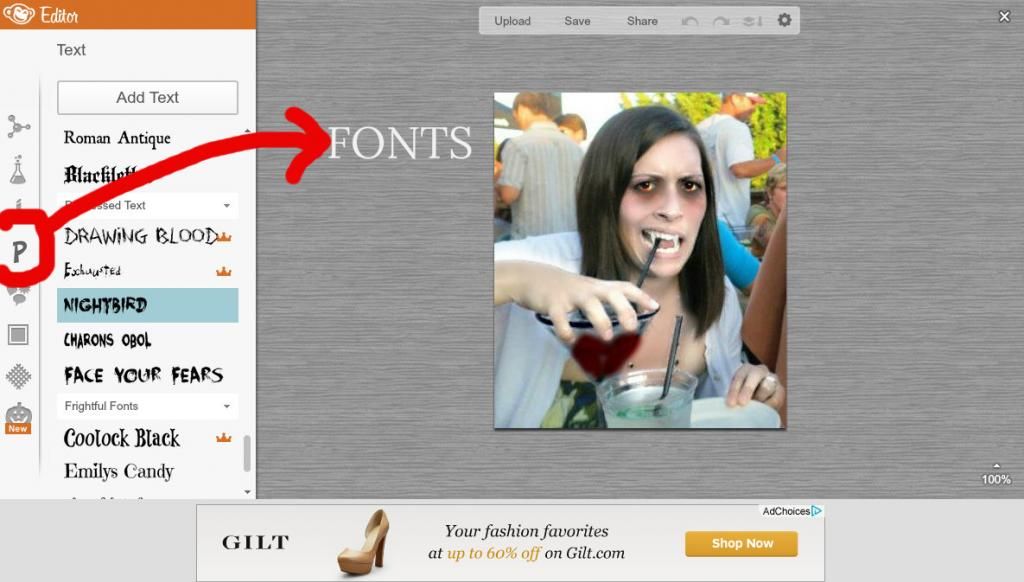
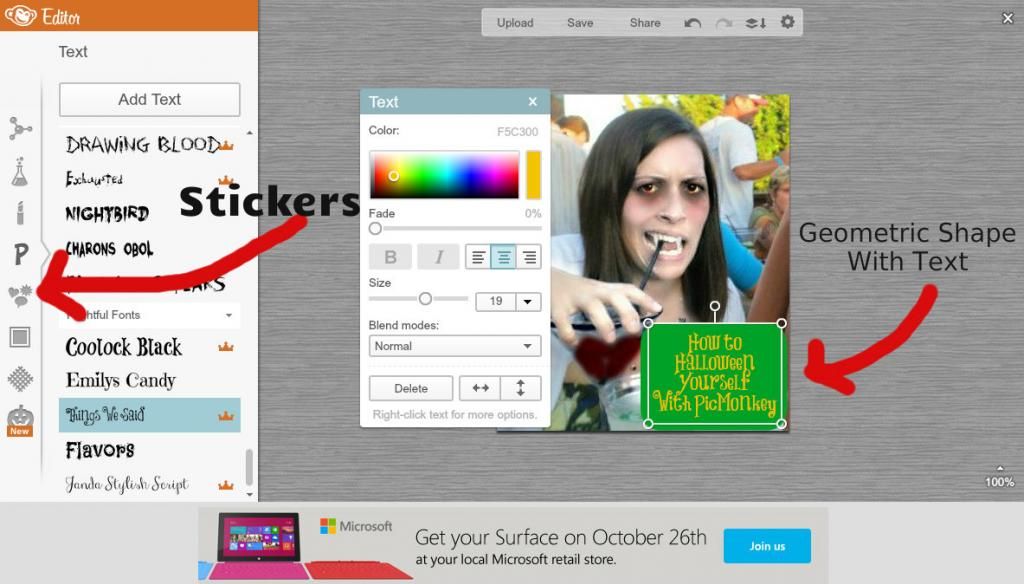
7) Want to add text? The Halloween text options are at the bottom of each Halloween Theme Category, or you can click the "P" on the Lefthand Editing Sidebar. You will be given a buttload of awesome fonts. I love editing photos in PicMonkey for this very reason!
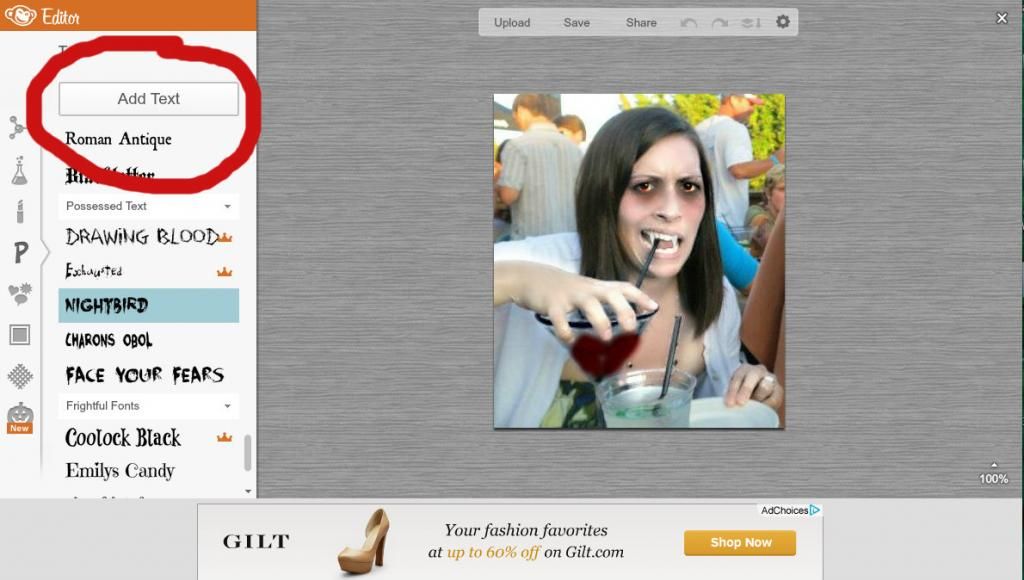
8) Choose the font you want to use, then click "Add Text." Type your wording, then click outside the text box.
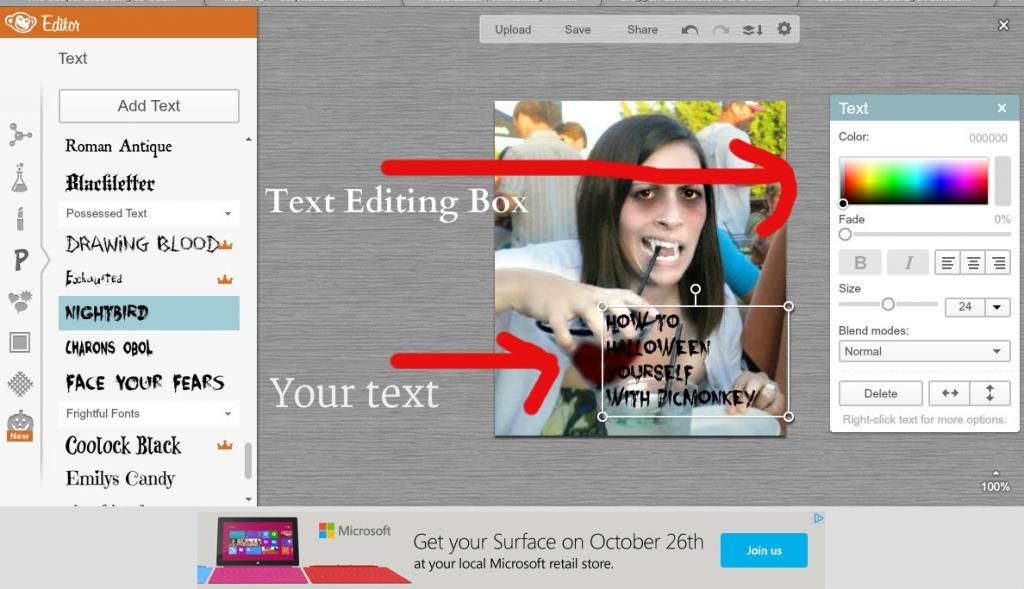
9)When you re-click the text, you are given an editing options box, where you can change the width of the box, the color of the font and the size of the font.
9) In the above photo, I added a Geometric Shape sticker (see the lefthand sidebar option with the shapes under the text "P"). I changed the color then placed my text on top.
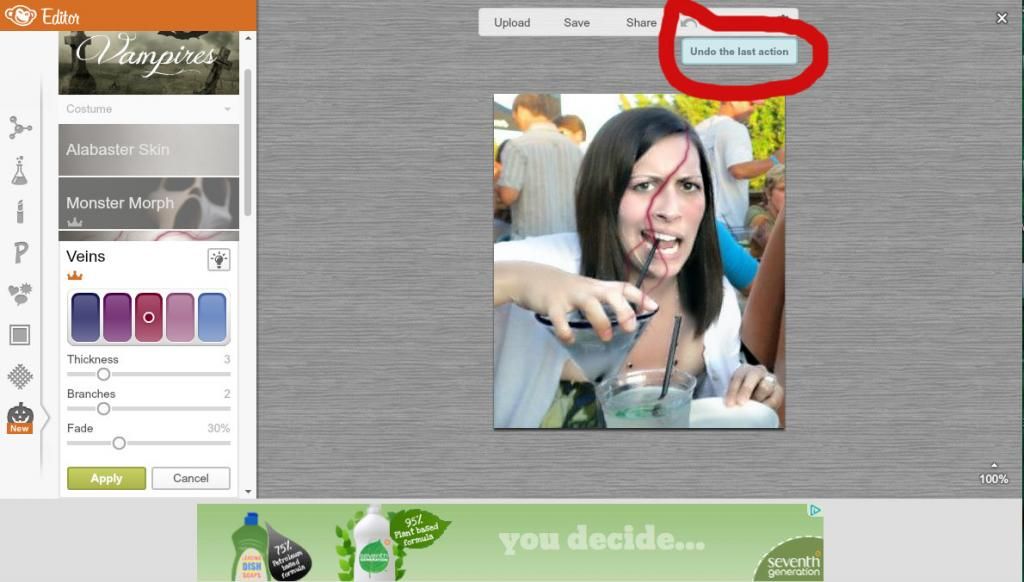
10) Make an oopsie? No worries. Just click the Un-Edit arrow at the top of the page to remove the last edit you made. Whew!
11) Once you are finished with your Halloween Creation, SAVE (see top of the page). It will save and download the image to your computer.
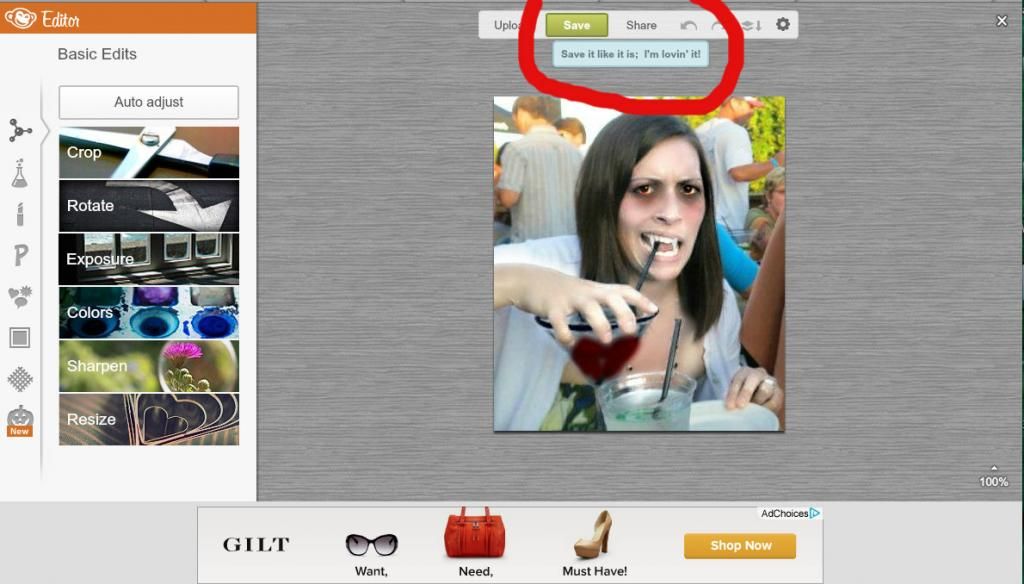
12) Now you can share it with friends or make it your profile picture!
HAPPY HALLOWEENIFYING!
I hope PicMonkey has fun holiday options for November and December as well!
Did you make a Halloween Creation on PicMonkey? Share your creations in the comments or on the CSHM Facebook page - I would love to see it!
